A Simple Guide to the Building Process From Start to Finish
If you are planning retaining wall construction, you can expect a few main stages: planning, site prep, digging, base work, wall building, drainage setup, and final cleanup. The job may look messy at first, but each step has a purpose. Knowing what happens during the project can help you ask better questions, plan your yard use, and avoid surprises while work is going on.
Quick Answer
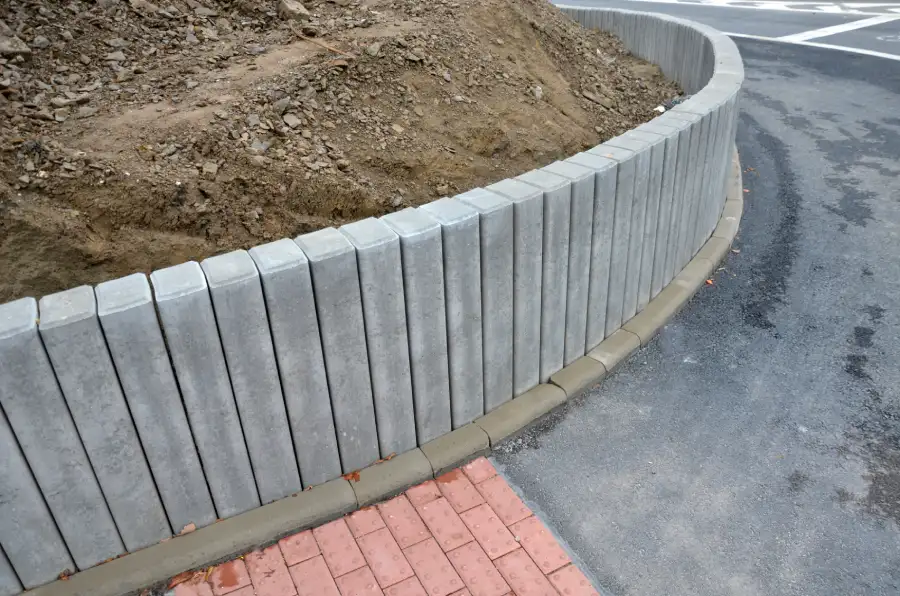
Most retaining wall construction jobs follow the same basic path. The area gets marked out first. Then the crew removes soil, levels the base, and starts stacking or forming the wall. Drainage is added behind the wall so water can move away. After that, backfill goes in, the wall is checked for strength, and the site is cleaned up. The exact steps can change based on wall size, slope, and soil conditions.
What You Need Before Starting
Before any dirt is moved, a few things should be clear. You need to know why the wall is being built, how tall it should be, and what kind of pressure it will hold back. A wall for garden beds is very different from one that supports a steep hill. This is also the time to think about your service category keyword and the larger outdoor project around the wall, such as grading, drainage, or patio work.
You should also have a plan for access. Crews may need room for tools, block delivery, soil removal, or small machines. If the wall is near a fence, driveway, or pool, that may affect how the job moves forward. In some cases, permits or engineering may be needed, especially for taller walls.
Step-by-Step Process
Here is the usual order for retaining wall construction:
- The layout is marked with paint, stakes, or string.
- The work area is cleared of plants, loose rock, or old materials.
- The crew digs a trench for the wall base.
- The base is filled and compacted with gravel or similar material.
- The first row of block, stone, or formed section is set very level.
- More courses are added while the wall is checked for line and height.
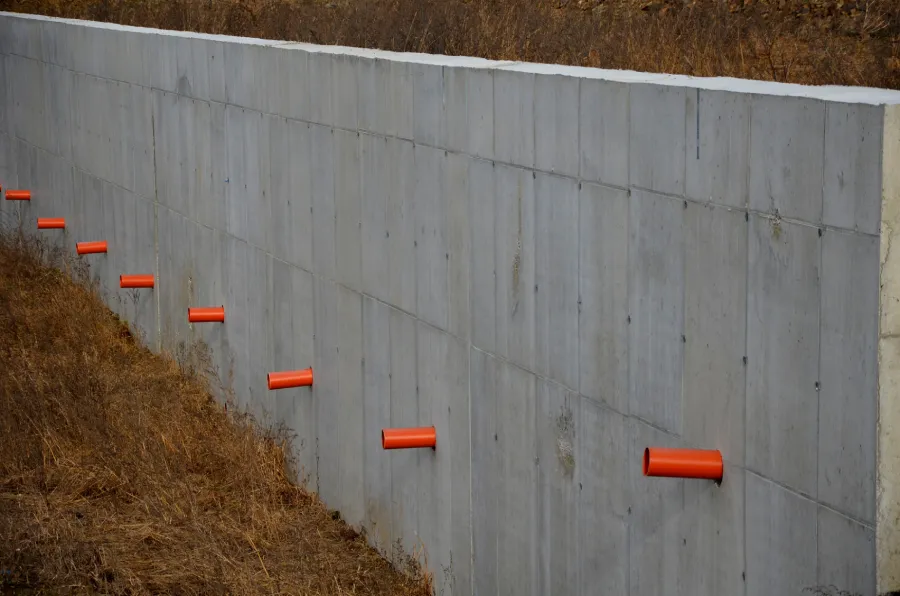
- Drainage stone and pipe are placed behind the wall.
- Backfill soil is added in layers and compacted.
- Caps or finishing details are installed if needed.
- The area is cleaned up and final grading is done.
The first row matters a lot. If it is off, the whole wall can lean or shift later. Drainage matters just as much. Water pressure behind a wall can cause major damage if it has nowhere to go.
Common Mistakes to Avoid
Many wall problems start with rushed prep work. One common mistake is using a weak or uneven base. Another is skipping drainage stone or drain pipe. Some people also choose the wrong wall type for the slope. A small decorative block may not work for a heavy load area.
Here are a few other mistakes people make:
- Building too close to tree roots
- Ignoring runoff from gutters or downspouts
- Using poor backfill material
- Making the wall too tall without extra support
- Failing to compact soil in layers
These issues may not show up right away. The wall may look fine at first, then bow, crack, or lean after heavy rain or a freeze-thaw cycle.
When Delays or Changes Can Happen
Even a well-planned retaining wall construction project can have changes during the job. Bad weather can slow digging or compacting. Hidden roots, buried concrete, or soft soil can also affect the schedule. If the soil is weaker than expected, the wall design may need to change. That could mean a deeper base, better drainage, or stronger materials.
This is why clear communication matters. If the crew finds a problem early, it is better to fix it before the wall goes up too far. Small changes during prep can prevent big repairs later.
What the Job Site May Look and Feel Like
During construction, your yard may feel busy and uneven for a short time. You may see stacked block, gravel piles, wheelbarrows, compactors, or small equipment. There can be dust, dirt, and noise during digging and base prep. If access is tight, workers may need to carry materials by hand, which can take longer.
It also helps to keep pets and kids away from the work area. Open trenches, loose stone, and tools can be unsafe. If the wall is near a walkway or driveway, you may need to use a different path until the project is done.
When to Call a Professional
Small garden walls can be simple, but larger walls need skill and planning. It is smart to call a professional if the wall is holding back a slope, rising more than a few feet, or near a home, driveway, or other hard surface. You should also get help if water pools in the area, the old wall is failing, or the ground has been moving.
A trained team can spot issues that are easy to miss. They can check slope pressure, drainage paths, and soil needs before the wall is built. That lowers the chance of early failure and helps the wall last longer.
Get Help With Your Next Wall Project
If you are planning a wall project in Flowery Branch, GA, we can help you know what comes next and what to watch for. At Oakwood Landscape and Design, we build retaining walls with careful prep, solid drainage, and clean finish work. Call us at (678) 541-3324 if you want to talk through your site, your goals, and the best path forward.